Baby Wipe Lid Family Photo Board: A 20-Minute Toddler Activity (Ages 2-4)
By Katie · Mom of 2 under 3. Founder, Screen Free Toddlers.
· 6 min read · @screenfree_toddlers
Glue baby wipe lids over family photos for a flip-and-find toddler activity. 10-minute setup, 20+ minutes of play. Step-by-step for ages 2-4.
Time: 20+ minutes | Age: 2-4 years | Setup: 10 minutes | Mess Level: Low
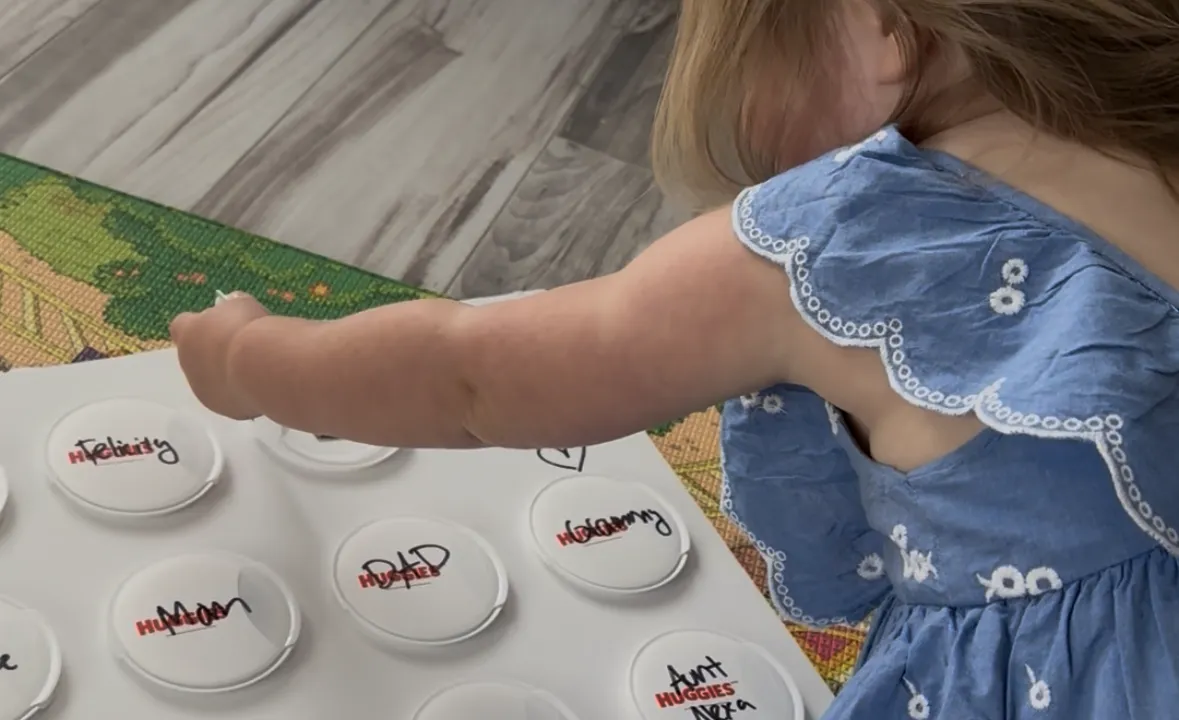
Cut the lid sections off three or four empty baby wipe bags. Stick them onto a piece of cardboard. Slip a small family photo under each lid, write the person’s name on top, and hand the board to your toddler. The baby wipe lid family photo board has been one of the highest-engagement activities in our house. My toddler stayed with it for 20+ minutes the first time and keeps coming back to it many weeks later.
This is the activity that taught my toddler to say her aunt and uncles’ names. The lift-the-lid mechanic combined with familiar faces and names is a near-perfect setup for a toddler who is in the words-and-faces stage. The setup takes longer than most of my activities, around 10 minutes, but the board is reusable indefinitely and easily earns its keep.
Below is the exact setup, the materials list, age tweaks for 2 through 4, what happened in our house, and the questions parents ask before trying it.
Why a Baby Wipe Lid Family Photo Board Works for Toddlers
This activity stacks four highly engaging mechanics. First is the lift-the-lid action, which is the same drive behind peek-a-boo and tissue-pulling. Second is the surprise of finding a face underneath. Third is the familiarity of family members, which gives every flip a small emotional reward. Fourth is the language layer: each lid has a name, which means every flip is a chance to hear and say a familiar word.
For toddlers between 18 months and 3, name acquisition is happening fast. Pairing names with familiar faces in a hands-on, repeatable activity is one of the strongest possible learning setups. She is not memorizing flashcards. She is playing peek-a-boo with people she loves and absorbing names as a side effect.
The replayability is what makes this so valuable. The board does not get boring on day three. The faces stay interesting because the people are real and the names continue to map to people she sees in real life.
What You Need
- 3-5 empty baby wipe bags (the resealable plastic kind with a flip-open lid section)
- A piece of sturdy cardboard, foam board, or a thin wood plank (about 12x18 inches)
- Strong scissors
- 3-5 small family photos, one per lid (printed at home or on a phone screen)
- A black marker for writing names
- Strong tape (packing tape) or hot glue to attach the lids
How to Set Up the Family Photo Board
- Cut the lid section off each empty baby wipe bag, leaving the plastic frame intact around the lid so it still flips open and closes cleanly.
- Lay the cardboard or foam board flat. Decide on the layout (a row of 5, or a 2x2 grid, or whatever fits).
- Tape or glue each lid section to the board, leaving the flap free to lift. Press firmly so the adhesive sets.
- Slip a small family photo under each lid, sized to fit the opening. Tape the photo to the board itself, not the lid, so the photo stays put when she lifts.
- Write the person’s name above each lid with a marker.
- Place the board on a low surface where she can see all the lids at once. Demonstrate lifting one and saying the name.
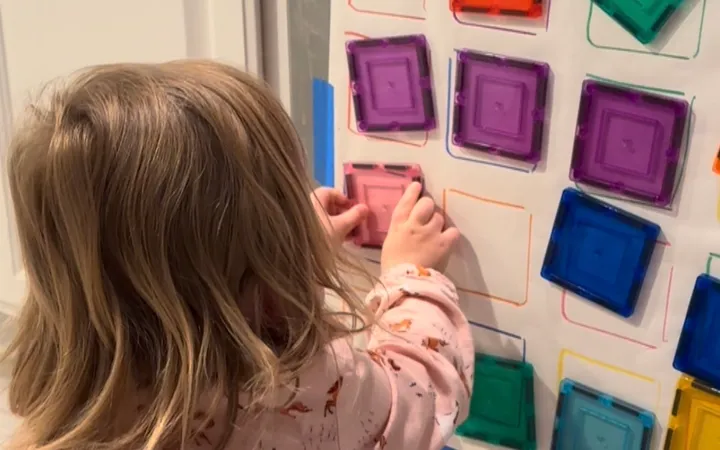
Love this one? There are 75 more.
The 75 Toddler Activities Guide is a flip-through bank of screen-free activities, all using things you already have at home. Pick one, set it up, buy yourself 15–20 minutes.
See the 75 Activities Guide →Age Tweaks
Age 2: At 2, focus on naming. Lift each lid yourself, say the name, and let her echo. Use 3-4 photos rather than a full set, and pick people she sees often.
Age 3: At 3, all 5 photos are fine. Add a quiz layer: ask “Where is Daddy?” and let her find and lift the right lid. This turns the activity into a soft language game.
Age 4: By 4, you can write the names and ask her to match each name to a face by reading. Or tell a tiny story about each person before lifting the lid.
What Happened When We Did It
She stayed with this for 20+ minutes the first round, and she has come back to it many times since. This is the activity that taught her to say her aunt and uncles’ names. She now points at them in real life and says their names without any prompting from me.
Some sessions she lifts every lid in order, says the names out loud, and starts over. Other sessions she lifts only one or two and then moves on. Either pattern is valid. The board does not need to be a 20-minute activity every time it earns its place in our rotation.
The setup took about 10 minutes including printing photos and cutting lids. The board has been reusable for many sessions, so the per-session setup time is functionally zero now. This is one I would build first if I could only build one activity from this entire list.
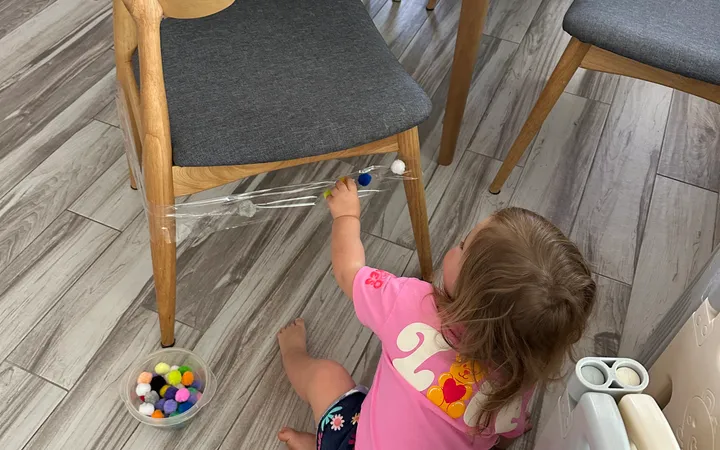
No energy to plan tomorrow's activity?
The 75 Toddler Activities Guide does the thinking for you. 75 ideas sorted by setup time and materials. Less mental load for you, a happy and engaged toddler for them.
Get the 75 Activities Guide →Common Issues and Troubleshooting
My toddler is not interested. The activity depends on her recognizing the people in the photos. If the photos are of people she rarely sees, the recognition factor is missing. Use only photos of people she sees regularly (parents, siblings, grandparents she sees on video calls).
The lids are popping off the board. Use stronger adhesive. Hot glue is best, but heavy-duty packing tape also works. The lids do take force when she lifts, especially the first dozen flips, so your tape job needs to be solid.
The photos are getting torn. This happens when she lifts the lid and the photo is taped to the lid instead of the board. Tape the photo directly to the board, behind the lid. The lid lifts, the photo stays.
Frequently Asked Questions
What age is the family photo board good for? This activity works for toddlers ages 12 months to 4 years. Younger toddlers focus on the lid-lifting and the visual surprise. Older toddlers learn names, identify family members, and tell small stories about each person.
Is this safe for toddlers who still mouth things? Yes. The lids and photos are not chokeable. Make sure your tape or glue does not have small loose pieces she can pick at. Avoid hot glue on a board she will mouth, and use packing tape instead.
How do I clean up after this activity? There is nothing to clean up between sessions. Just put the board away on a shelf or hook it on a wall as a permanent feature of her play space.
Can I prep this activity ahead of time? Yes, and the prep is reusable indefinitely. Make the board once, and it lives in your house as an evergreen activity for as long as the photos stay current.
What if I do not have empty baby wipe bags? Any container with a flip-open lid that you can mount flat works. Some parents have used plastic envelope flaps, the lids from disposable food containers, or even cut sections from milk jug labels. The lift-and-find mechanic is what matters, not the specific lid source.
Mom to Mom
This is the single highest-impact activity I have made. The 10-minute setup is the longest of any activity I do, but I have used the same board for many weeks and it keeps earning its keep. If you have a few empty baby wipe bags lying around, this is the one to make first.
The family photo lid board is great when you have 10 minutes once and want a reusable activity that keeps paying out. When you need a screen-free win without the prep, the 75 Toddler Activities Guide does the thinking for you. 75 screen-free activities you can flip through in seconds, all using stuff already in your house. Pick one, set it up, and buy yourself 15-20 minutes. No prep spirals, no Pinterest searching, no guilt.
Want tonight's dinner hour back?
Drop your email. I'll send you TONIGHT, a 3-step reset plan plus 4 setup-free activities for the meltdown hour.
By signing up, you agree to receive the guide and emails from Katie. Unsubscribe anytime.